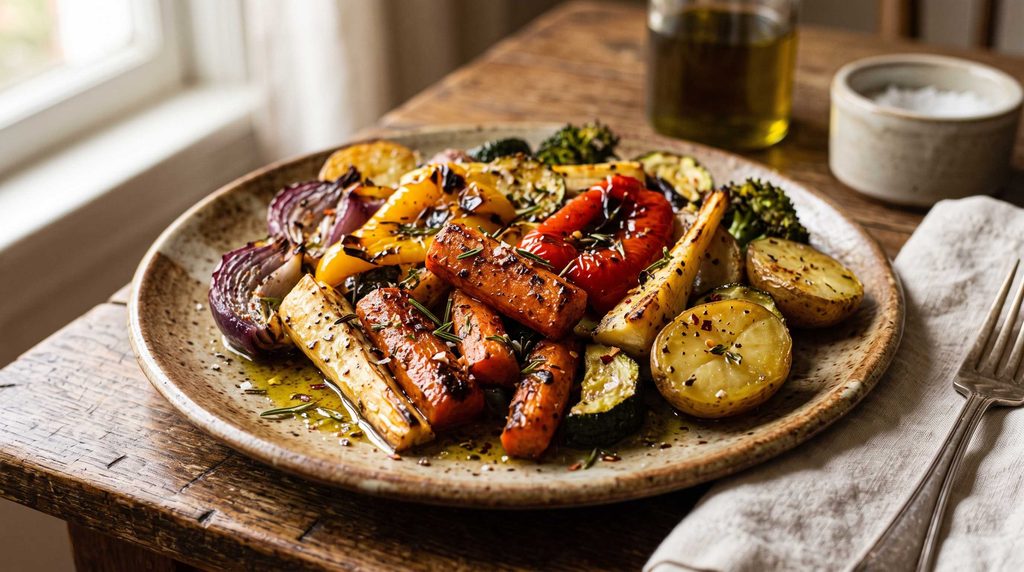
Whether you are capturing dishes for a menu, building a recipe blog, or snapping photos for social media, food photography is all about triggering appetite. A great food photograph should make the viewer want to reach through the screen and take a bite.
Here are 11 essential, practical tips to elevate your food photos from ordinary to irresistible.
1. Select Only the Freshest Ingredients
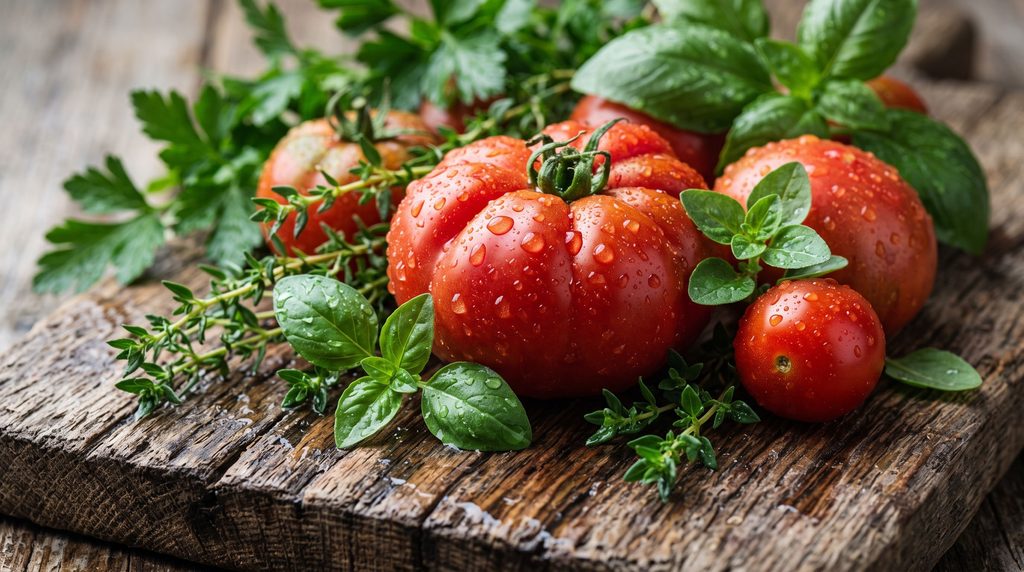
When you photograph food up close, macro details become obvious. A slightly bruised apple, wilted herb, or wrinkled pepper will stand out immediately. Be picky when selecting produce at the market, and if an ingredient has a minor blemish, rotate or position it so the best side faces the lens.
2. Master Backlighting and Side Lighting
Direct, frontal flash or overhead kitchen lights tend to flatten food and wash out its natural depth. Instead, position your dish so light skims across it from behind (backlighting) or from a 45-degree side angle. Backlighting emphasizes steam, brings out glistening sauces, and highlights crisp textures.
3. Embrace “Less is More”
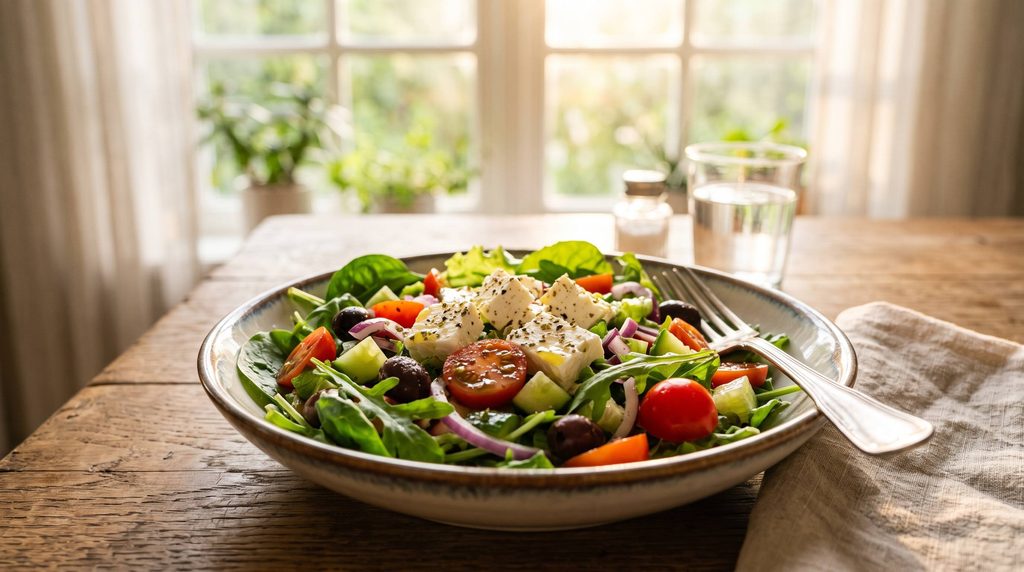
A cluttered frame distracts from the star of the show. Remove extra condiments, napkins, or unrelated cutlery. If you are shooting a stew or soup that looks visually uniform or brown, keep the serving small and use garnishes or targeted cropping to direct the viewer’s focus.
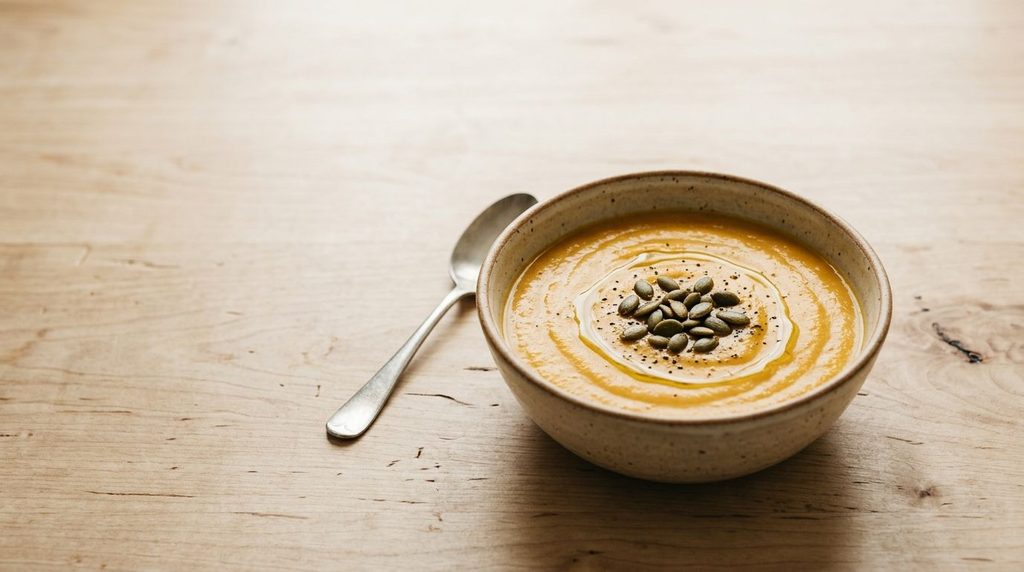
4. Style with Raw Ingredients and Neutral Props
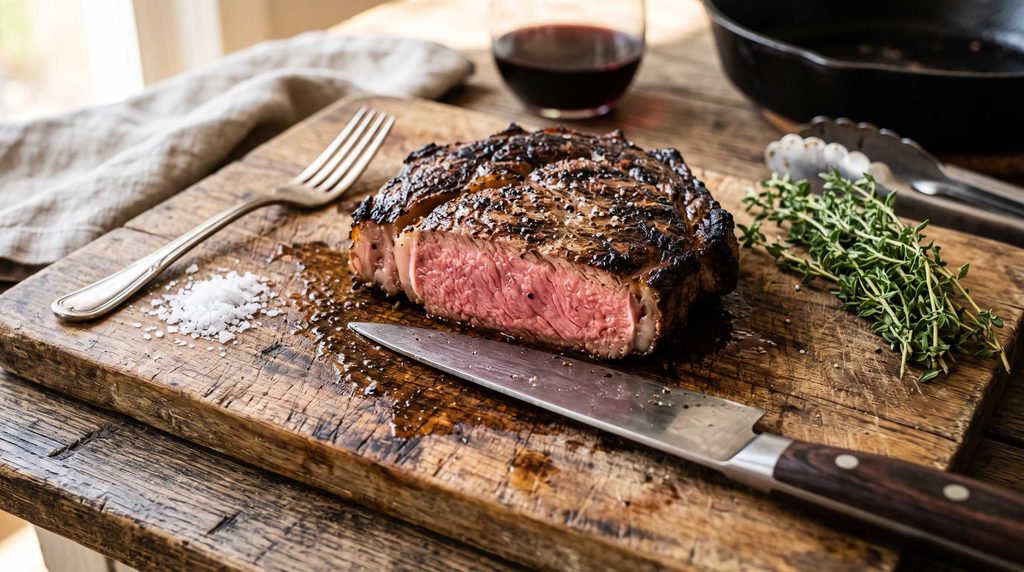
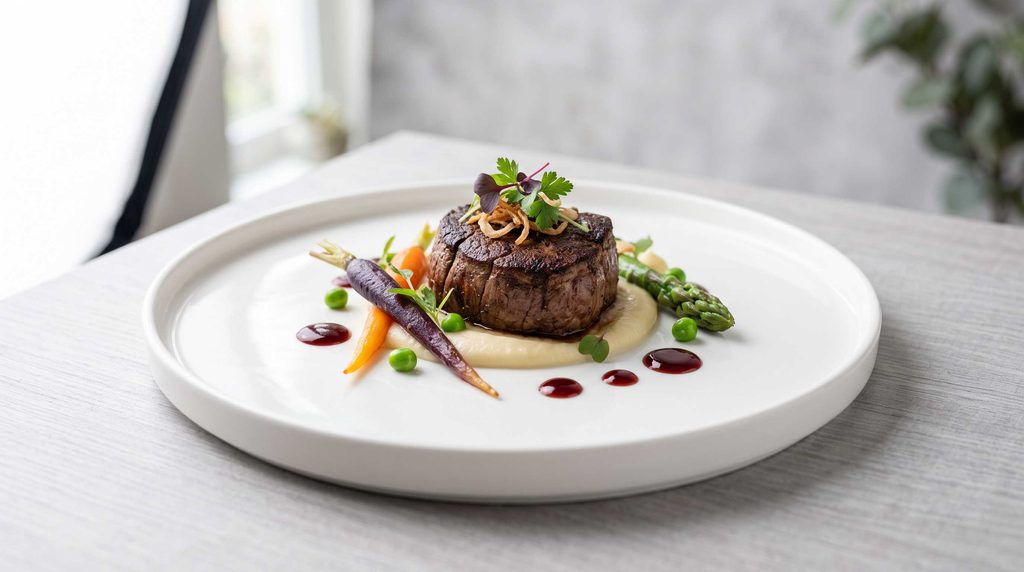
Simple, matte plates and neutral bowls ensure the food remains the visual focal point. Bright or busy plate patterns can compete with the colors of the dish. To tell the story of how the dish was prepared, scatter raw elements like garlic cloves, peppercorns, coarse sea salt, or whole herbs around the scene.
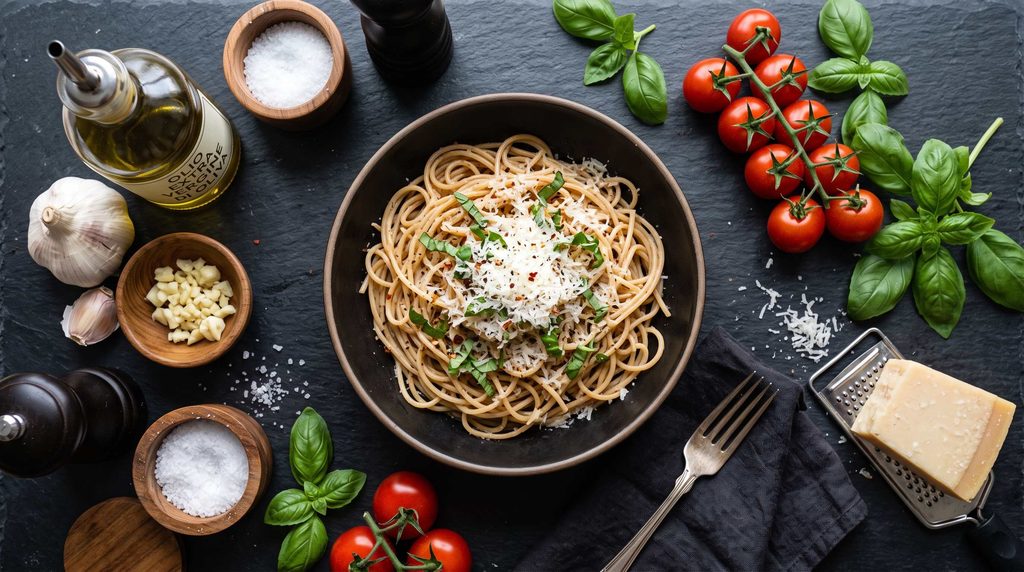
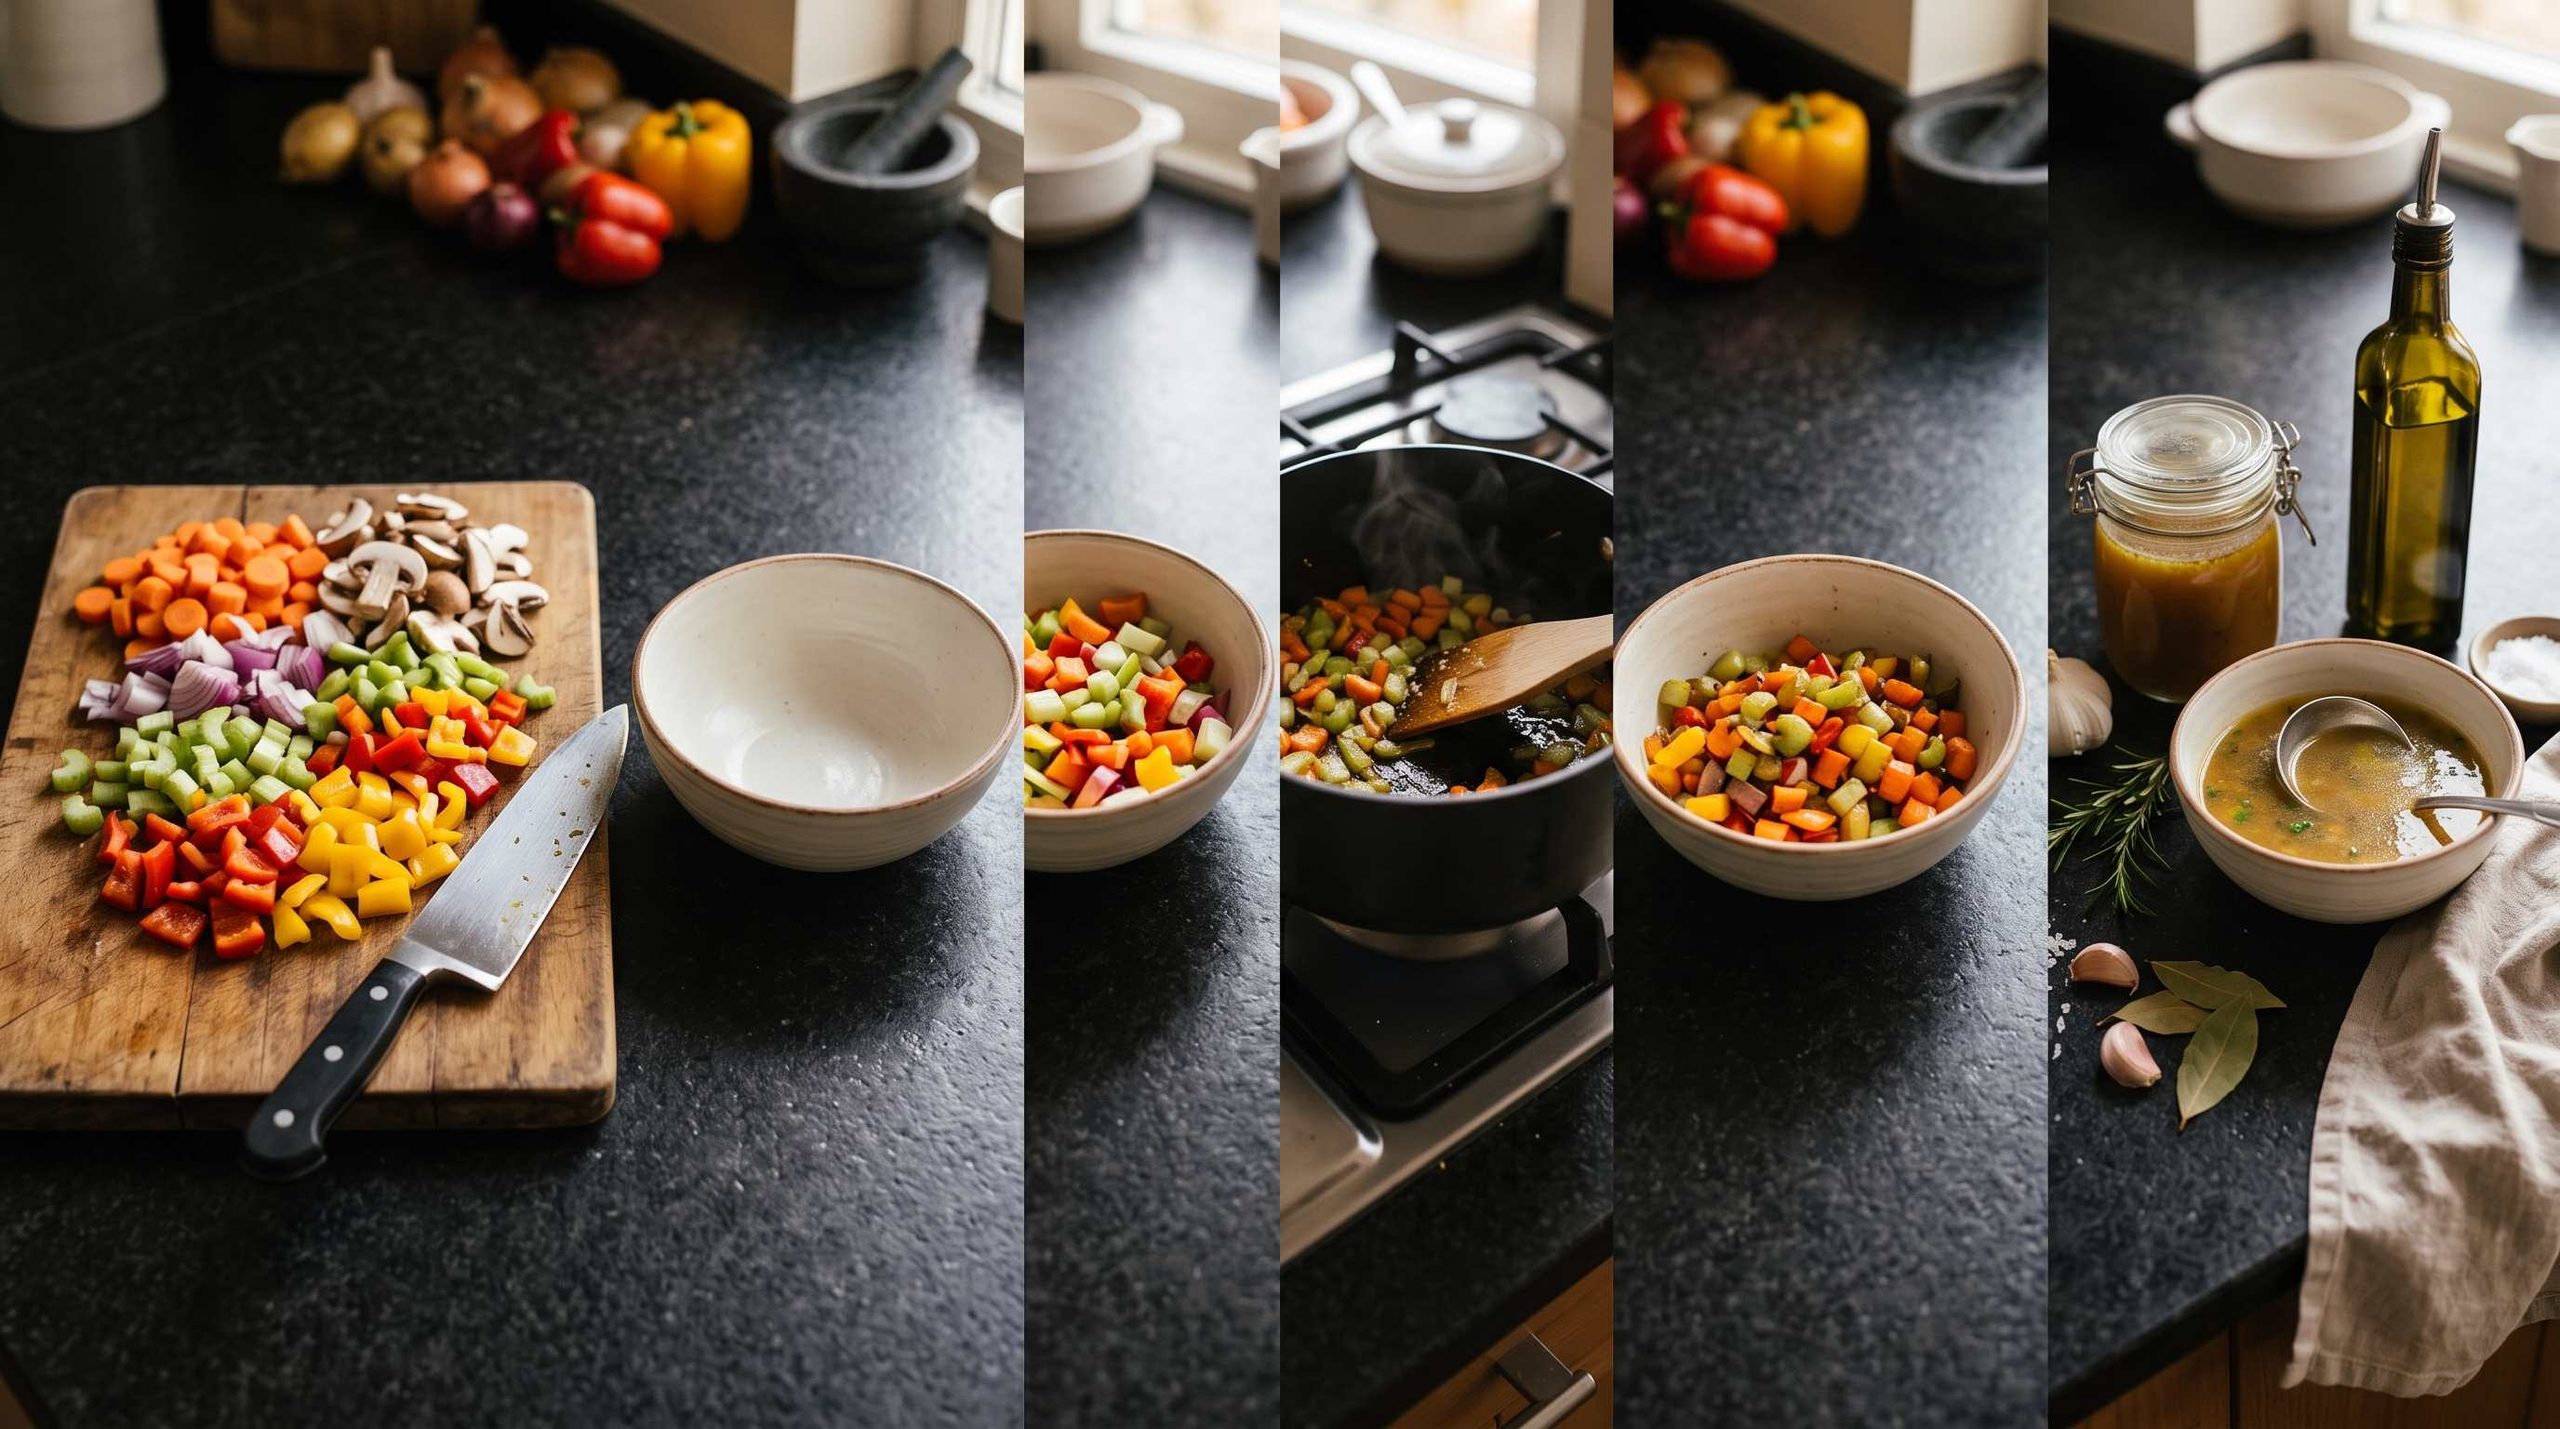
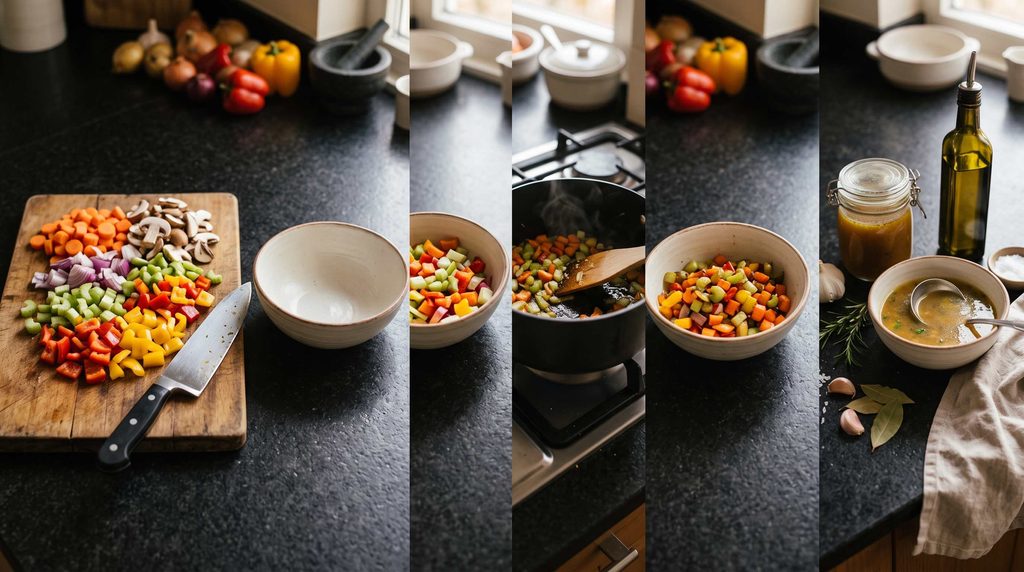
5. Document the Step-by-Step Process
Some dishes taste delicious but look messy once fully plated. In these situations, document the creation process: chopping vibrant vegetables, searing meat, or combining ingredients in a pan. Showing prep steps provides context and often yields much more dynamic visuals.
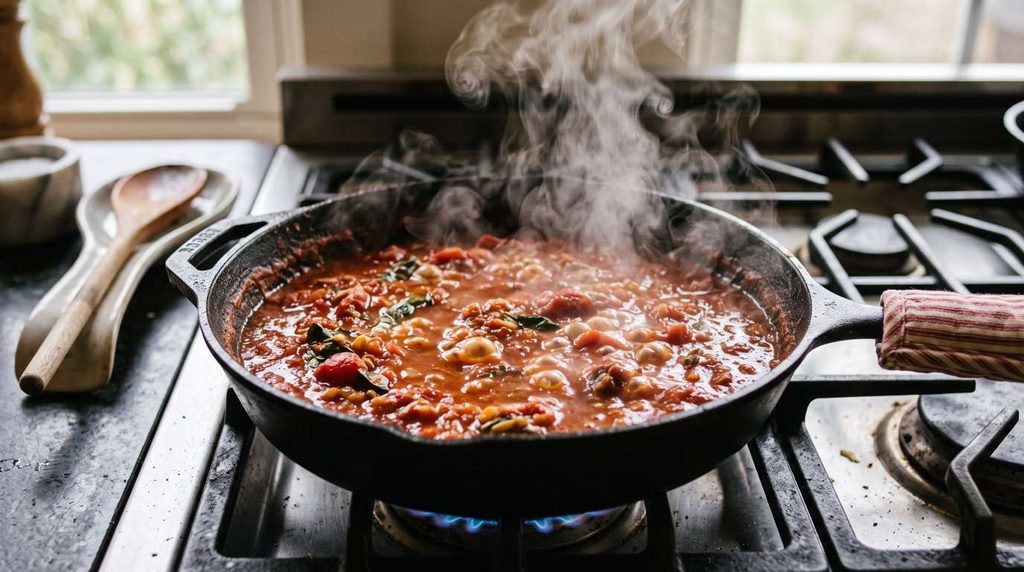
6. Capture the Cooking in Action
Food looks alive when it is actively being prepared. Look for moments like boiling sauces, rising steam over a pan, or a gentle simmer. High shutter speeds can freeze bubbling liquids, capturing dynamic energy that a finished plate cannot replicate.
7. Add a Human Element
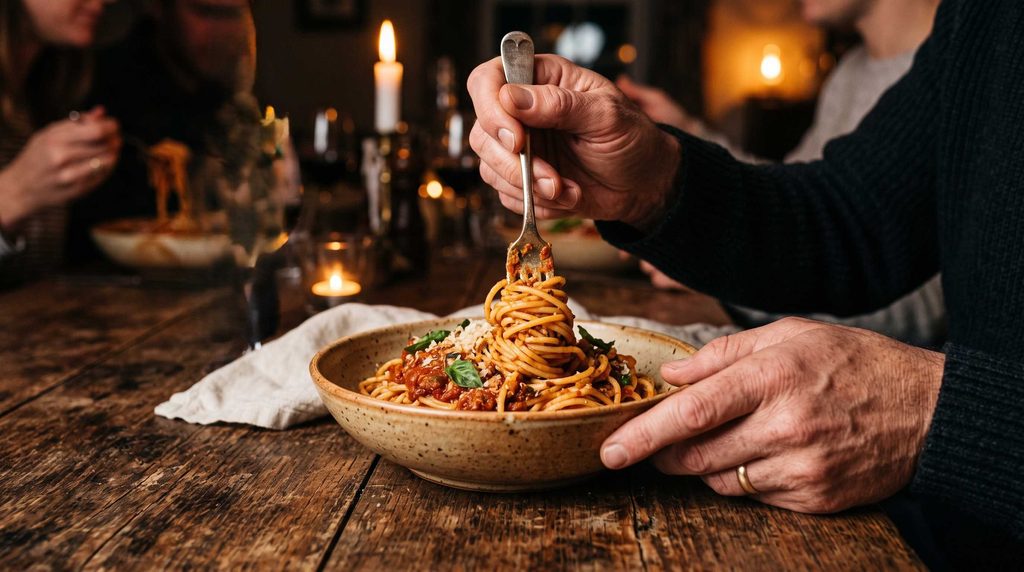
Introducing hands into the frame brings scale, warmth, and a narrative feeling to food photography. Whether it’s a hand drizzling sauce, slicing freshly baked bread, or lifting a fork, human interaction transforms a static product shot into an inviting dining experience.
8. Slightly Undercook for the Camera
Food continues to cook and lose moisture even after being pulled off the heat. Meat can dry out, vegetables can lose their bright colors, and leafy greens will wilt. To capture produce and meats at their plumpest and most vibrant, remove them from the heat slightly earlier than you normally would for eating, shoot the photos, and then finish cooking if needed.
9. Keep Props and Rims Spotless
High-resolution lenses and close-up compositions pick up every sauce splatter, fingerprint, and stray crumb. Keep a microfiber cloth and cotton swabs nearby to clean the edges and rims of plates before snapping the final shot. A clean canvas ensures the presentation looks professional and appetizing.
10. Vary Your Angles
Not every dish should be photographed from the same viewpoint:
- Overhead (90 degrees / flat lay): Best for pizza, grazing platters, and table spreads where shape and arrangement matter.
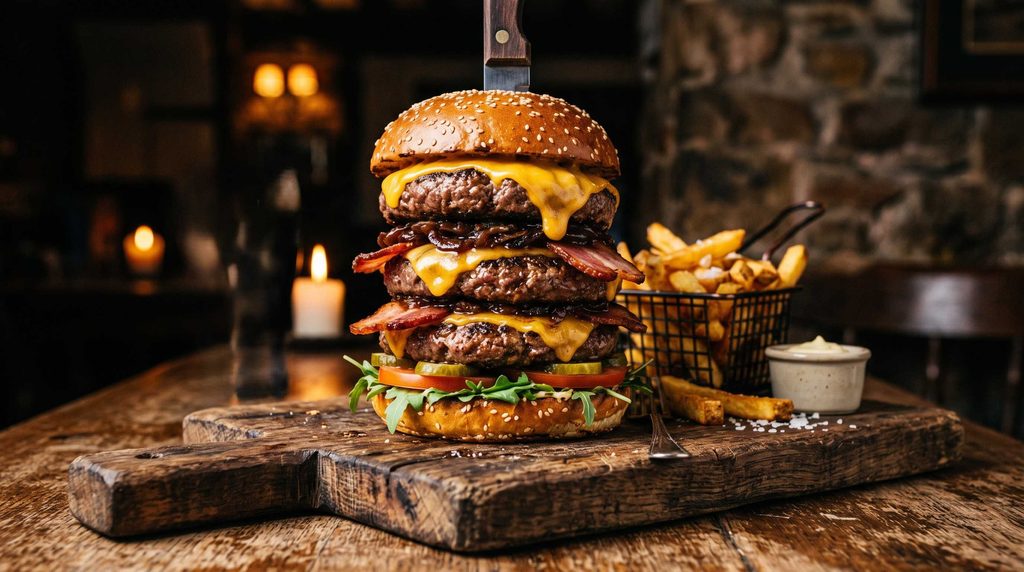
- Eye level (0 to 15 degrees): Ideal for tall dishes like stacked burgers, towering pancakes, or layered sandwiches.
- Diner’s perspective (45 degrees): Simulates how someone seated at a table sees their meal.
Experiment with slight camera tilts and diagonal arrangements to lead the viewer’s eye naturally through the composition.
11. Add a Brush of Oil or Water Mist
To give roasted vegetables, grilled meats, and pasta that fresh-off-the-grill sheen, lightly brush them with olive oil right before shooting. For crisp salads, herbs, or raw fruit, a light spritz of water from a spray bottle gives an instant, refreshing dewiness that catches the light beautifully.